To install Wazuh on Ubuntu 24.04, download the installation assistant and run it with the all-in-one flag as root. It installs the indexer, the manager and the dashboard in that order, generates the certificates that secure the traffic between them, and prints the login credentials when it finishes. The install itself is the easy part. The work that decides whether the deployment is usable happens in the twenty minutes afterwards, and that is where this lesson spends its time.
What you need
- Ubuntu 24.04 or 26.04, 64-bit, with root access.
- At least 4 vCPU and 8 GiB of RAM for up to 25 agents. Check the sizing numbers before you provision, because the assistant warns about undersized hosts but installs anyway.
- Outbound HTTPS to the package repository.
- Ports 9200, 9300, 1514, 1515, 1516, 55000 and 443 free on the host. The assistant refuses to continue if any of them is in use.
Install the central components with the assistant
Download the assistant:
curl -sO https://packages-staging.xdrsiem.wazuh.info/pre-release/5.x/installation-assistant/wazuh-install-5.0.0-beta5.shRun it as root with the all-in-one option:
bash ./wazuh-install-5.0.0-beta5.sh -a -id -d pre-releaseThree flags, and each one matters:
-aor--all-in-oneinstalls and configures the manager, the indexer and the dashboard on this host.-idor--install-dependencieslets the assistant pull in the packages it needs rather than failing on a missing dependency.-d pre-releasepoints it at the development repository. This flag exists because 5.0 is not released. At general availability it goes away and the script name loses its beta suffix.
When the run completes, the assistant prints a summary. The documentation shows it as:
INFO: --- Summary ---
INFO: You can access the web interface https://<WAZUH_DASHBOARD_IP_ADDRESS>
    User: admin
    Password: admin
INFO: Installation finished.
What the assistant actually did
Worth knowing, because when something breaks you will be debugging these steps individually.
- Checked the architecture, the operating system against the supported list, the CPU and RAM, and whether any of the required ports were already in use.
- Added the Wazuh package repository and its GPG key.
- Generated a certificate authority and issued certificates for the indexer, the manager and the dashboard, then packed them into
wazuh-install-files.tarin the working directory. - Installed and started
wazuh-indexer, then ran the security initialisation that loads the certificates and brings the single-node cluster up. - Installed and started
wazuh-manager, configured to reach the indexer over TLS on 9200. - Installed and started
wazuh-dashboardon 443.
The same sequence run by hand is the step-by-step method. If a change process needs to see every command, or you are building a distributed deployment, use the step-by-step installation guide instead. It is the same packages from the same repository.
Verify the install before you trust it
Three checks, in order. If any one fails, stop and fix it rather than moving on.
Indexer responding:
curl -k -u admin https://<WAZUH_INDEXER_IP_ADDRESS>:9200The documentation shows a response carrying "cluster_name" : "wazuh-cluster" and an OpenSearch distribution version. Anything else, including a connection refused, means the indexer did not come up.
Manager daemons running:
/var/wazuh-manager/bin/wazuh-manager-control statusOn a 5.0.0-beta5 stack this returns eight daemons:
wazuh-manager-clusterd is running...
wazuh-manager-modulesd is running...
wazuh-manager-monitord is running...
wazuh-manager-remoted is running...
wazuh-manager-analysisd is running...
wazuh-manager-db is running...
wazuh-manager-authd is running...
wazuh-manager-apid is running...
wazuh-manager-monitord is worth a note. The GitHub migration guide lists it among the daemons being removed, and beta5 still ships it and still starts it. Count eight, not seven, when you write a health check.
Anything reported as not running gets investigated in /var/wazuh-manager/logs/wazuh-manager.log before you go further.
Dashboard reachable:
systemctl status wazuh-dashboardThen open https://<WAZUH_DASHBOARD_IP_ADDRESS> in a browser. The documentation notes the interface can take one to two minutes to come up while the services finish initialising, so a blank page immediately after the install is not yet a problem.
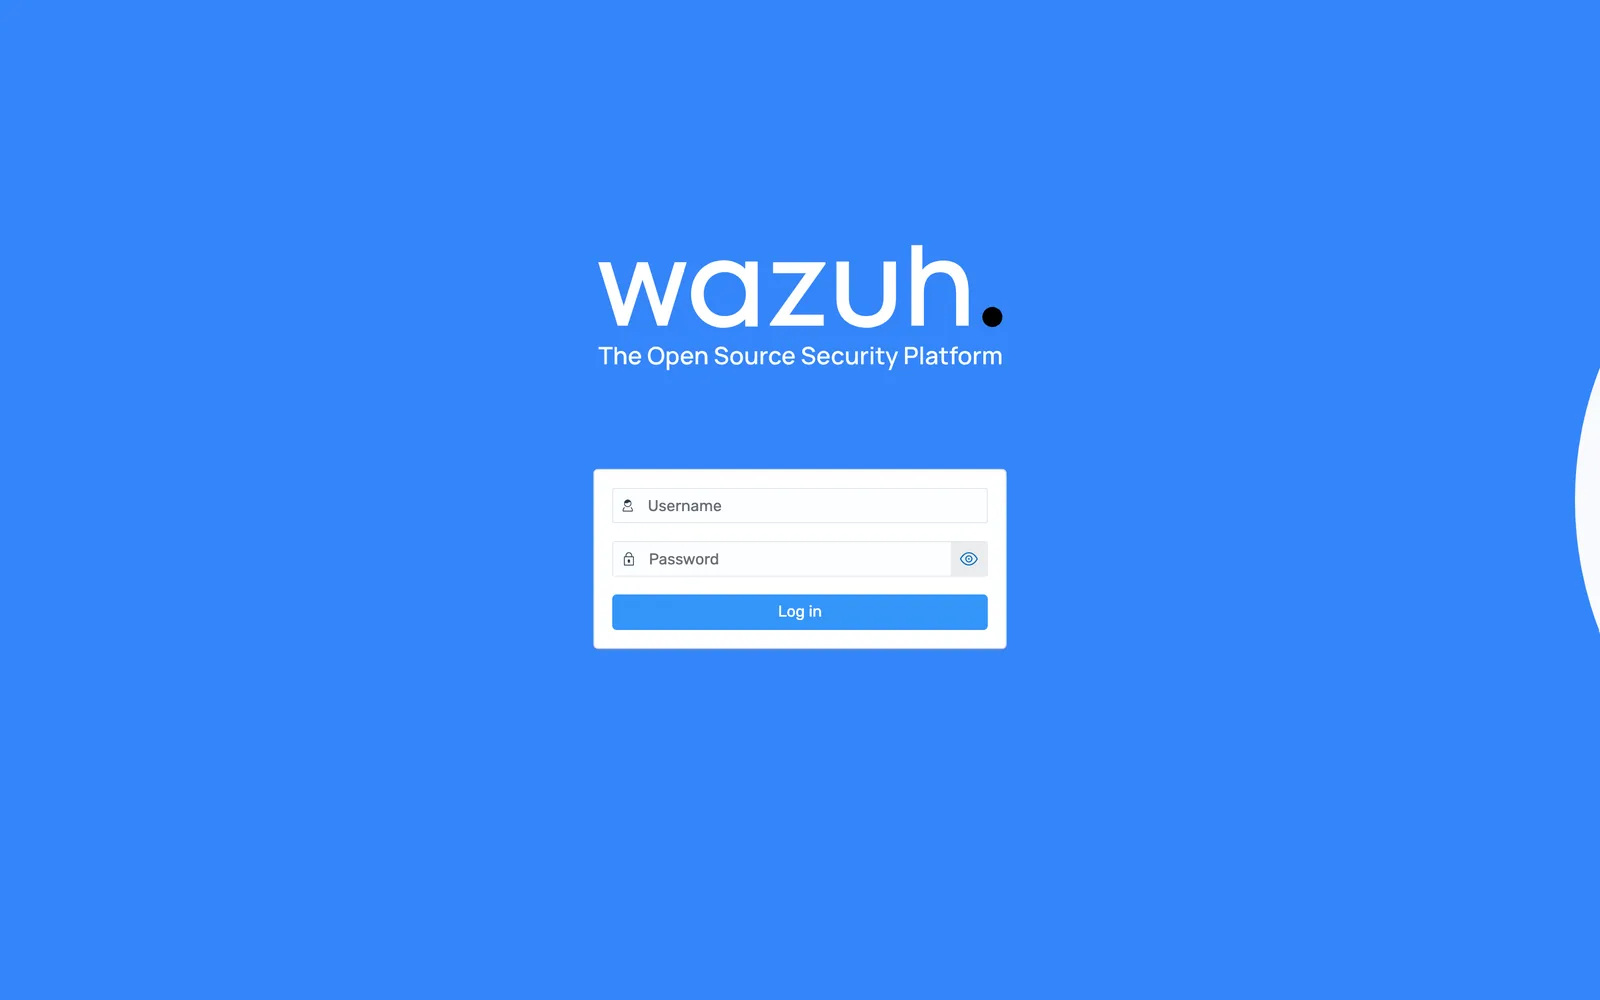
The browser will warn that a trusted authority did not issue the certificate. That is expected with the generated CA. Accept it for now and replace the certificate properly before anyone other than you uses the dashboard.
The post-install checklist
This is the part that separates a working deployment from a demo. Do all of it before you install a single agent.
1. Change the admin password
The quickstart deployment ships with admin / admin. Download the passwords tool:
wget https://packages-staging.xdrsiem.wazuh.info/pre-release/5.x/installation-assistant/wazuh-passwords-tool-5.0.0-beta5.shThen change the password:
bash wazuh-passwords-tool-5.0.0-beta5.sh -u admin -p <NEW_PASSWORD>The password must be 8 to 64 characters and contain at least one uppercase letter, one lowercase letter, a number, and one of .*+?-. In an all-in-one deployment the tool updates the password everywhere it is referenced. The tool is also installed on the host at /usr/share/wazuh-indexer/plugins/opensearch-security/tools/wazuh-passwords-tool.sh.
2. Change the manager API passwords
Separate accounts, separate command. The manager API has two default users, wazuh for administration and wazuh-wui for the dashboard’s own calls:
bash wazuh-passwords-tool-5.0.0-beta5.sh -A -au wazuh -ap wazuh -u wazuh -p <NEW_PASSWORD>People change the dashboard login, feel finished, and leave the API defaults in place. An API account with default credentials on port 55000 can enrol agents, change group configuration and trigger remote upgrades.
3. Check the agent listener, and learn its URL prefix
Read /var/wazuh-manager/etc/wazuh-manager.conf before you change anything. Verified on the 5.0.0-beta5 lab, the shipped <remote> block already listens on every interface and carries a URL prefix:
<remote>
  <https>
    <port>1517</port>
    <bind_addr>0.0.0.0</bind_addr>
    <global_prefix>/wazuh-manager/</global_prefix>
    <certificate>etc/certs/remoted.pem</certificate>
    <key>etc/certs/remoted-key.pem</key>
  </https>

  <legacy>
    <enabled>yes</enabled>
    <port>1514</port>
    <protocol>tcp</protocol>
    <local_ip>0.0.0.0</local_ip>
    <queue_size>131072</queue_size>
  </legacy>
</remote>
Two things follow from that. First, the listener is reachable out of the box, so if agents cannot enrol, look at the firewall and the certificate rather than at bind_addr. Second, global_prefix means a health probe has to hit the prefix: on the lab stack https://manager:1517/ returns {"error":"not_found"} and https://manager:1517/wazuh-manager/ returns {"status":"ok","module":"remoted"}. Probing the root and concluding the manager is dead is an easy hour to lose.
Third thing, and it belongs in step 4: the legacy 4.x listener on 1514 is enabled in the shipped configuration. If you have no 4.x agents, remove the <legacy> block or firewall the port.
Restart the manager after any edit. Every change to wazuh-manager.conf needs a restart to take effect, and an unknown element anywhere in that file is a startup error rather than a warning.
systemctl restart wazuh-manager4. Close the ports you are not using
Open only what is needed:
| Port | Open to | Why |
|---|---|---|
| 443/TCP | Analysts, ideally through a VPN or identity-aware proxy | Dashboard |
| 1517/TCP | Agent subnets only | Wazuh 5.x agent enrolment and events |
| 55000/TCP | Automation hosts only | Manager API |
| 9200/TCP | Nothing external | Indexer API |
| 1514, 1515/TCP | Only if you keep 4.x agents | Legacy agent channel, enabled in the shipped configuration |
A ufw example that implements this is in the companion files for this lesson. Treat it as a starting point and adjust the source ranges; nothing here should be open to the whole internet.
5. Disable the package repository
The documentation recommends disabling the Wazuh repositories after all components are installed, so an unrelated apt upgrade cannot pull in a partial version bump:
sed -i "s/^deb /#deb /" /etc/apt/sources.list.d/wazuh.listThen apt update to refresh. Re-enable it deliberately when you plan an upgrade.
6. Snapshot the host
Take a virtual machine snapshot now, while the install is clean and before any configuration drift. On a beta release this is not optional. You will want to roll back at least once.
That is the minimum. A fuller pass over certificates, exposure, API token hygiene and the accounts a default install leaves behind is in the lesson on hardening Wazuh itself.
Common errors
Port 9200 is being used by another process. Please, check it before installing Wazuh.
Cause: something is already listening on one of the ports the assistant needs. On a reused host this is usually an old Elasticsearch, OpenSearch or Wazuh 4.x install. The assistant then prints The installation can not continue due to port usage by other processes. and exits. Fix: identify the process with ss -ltnp, stop or relocate it, then re-run. The port check is skipped entirely if lsof is missing, in which case you get Cannot find lsof. Port checking will be skipped. and a later failure instead.
Your system does not meet the recommended minimum hardware requirements of 8Gb of RAM and 4 CPU cores. The installation will continue, but it may not work properly.
Cause: the host is below the floor for an all-in-one install. Fix: resize. The install will complete and then behave badly under any real load, usually appearing first as an indexer that restarts under memory pressure.
The current system does not match with the list of supported systems. The installation may not work properly.
Cause: not Amazon Linux 2023, Ubuntu 24.04 or 26.04, or RHEL 9 or 10. Ubuntu 22.04 is a common trigger. Fix: use a supported release.
Cannot find wazuh-install-files.tar. Run the script with the option -g|--generate-config-files to create it or copy it from another node.
Cause: you are running a per-component install such as --wazuh-manager or --wazuh-dashboard without the certificate bundle in the working directory. Fix: generate it once with --generate-config-files from an edited config.yml, then copy the resulting tar to every node before installing there.
Cannot install dependency: <PACKAGE>.
Cause: the assistant could not install a required package, usually because the repository is unreachable or the GPG key failed to import. Fix: check outbound HTTPS and proxy settings, confirm gnupg and apt-transport-https are present, then re-run apt-get update by hand and read its output. A GPG failure on a manually added repository normally means the key was written to the wrong keyring path or without chmod 644.
The dashboard says it is not ready
Cause: the dashboard starts before the indexer finishes initialising and retries until the indexer answers on 9200. Fix: wait. The documentation notes about a minute for the indexer to start. If it persists beyond a few minutes, check the indexer first, then the dashboard’s credentials for the kibanaserver user.
Agents enrol but immediately disconnect
Cause: on a fresh install, most often clock skew or a group that does not exist. Agent requests on 1517 carry short-lived signed tokens, so a host whose clock is minutes out will authenticate intermittently or not at all, and enrolment into an undeclared group is rejected outright. Fix: confirm NTP on both ends, then create the group on the manager before the agent asks for it. The disconnected agent lesson is the full decision tree and carries the exact rejection strings.
What to do next
With the central components running and secured, install your first agent. The Linux agent lesson covers the package install and unattended enrolment, and remember that in 5.0 an agent group has to exist before an agent can enrol into it. If you would rather run the stack in containers, the Docker deployment lesson does the same job with compose.
The official source for everything above is the Wazuh 5.0 quickstart and the installation guide.
Next: Wazuh Docker deployment.
Files for this lesson
Every file this lesson refers to, exactly as used. Open a file to read it in the browser, or download the set as a zip. Download install-wazuh-ubuntu.zip. The full set for all lessons is at wazuh-tutorial-files.zip.
README.md1.1 KBpost-install-checklist.md2.9 KBremote-bind-addr.xml1.7 KBufw-rules.sh2.1 KB
Frequently asked questions
How do I install Wazuh on Ubuntu?
Download the installation assistant and run it with the all-in-one option as root. It installs the indexer, then the manager, then the dashboard, generates the certificates and prints the admin credentials at the end. On Ubuntu 24.04 the whole run takes a few minutes on a machine that meets the hardware floor.
What is the default Wazuh password?
The quickstart deployment finishes with the user admin and the password admin, printed in the installation summary. Change it immediately with the Wazuh passwords tool. The manager API has its own default users, wazuh and wazuh-wui, which are separate accounts and need changing separately.
Which ports do I need to open after installing Wazuh?
443/TCP for the dashboard, 1517/TCP for Wazuh 5.x agents, and 55000/TCP for the manager API if anything outside the host will call it. Port 9200 should stay closed to the internet. Open 1514 and 1515 only if you are keeping Wazuh 4.x agents alive.
Can I install Wazuh without the script?
Yes. The step-by-step method installs each component from the package repository with its own configuration, which is what you want for a distributed deployment or when a change-management process needs to see every command. The assistant is a wrapper around the same packages.
How do I uninstall Wazuh?
Run the same installation assistant with the -u or --uninstall option. It removes all Wazuh components along with their configuration and data, so take a snapshot first if there is anything on the box you want back.